When dampers are not sitting in the right place on their string(s),
they must be cranked L or R accordingly. Standard practise, you’d think
(at least, that’s how it’s done in the Steinway factory in Hamburg,
where I learned how to do it).
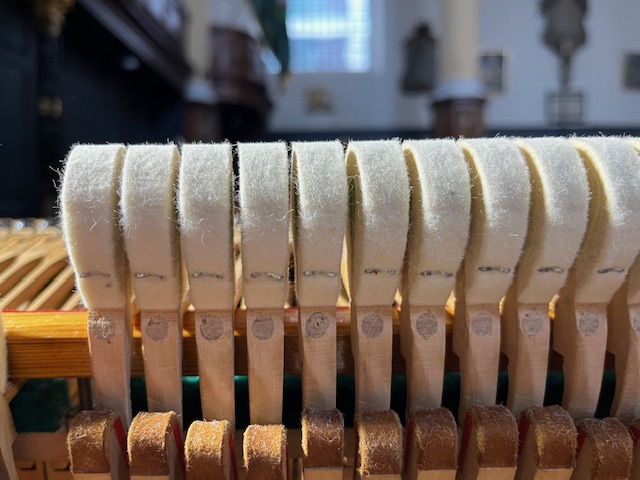
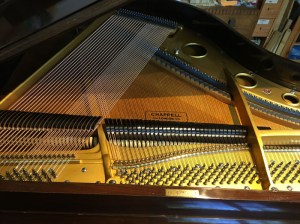
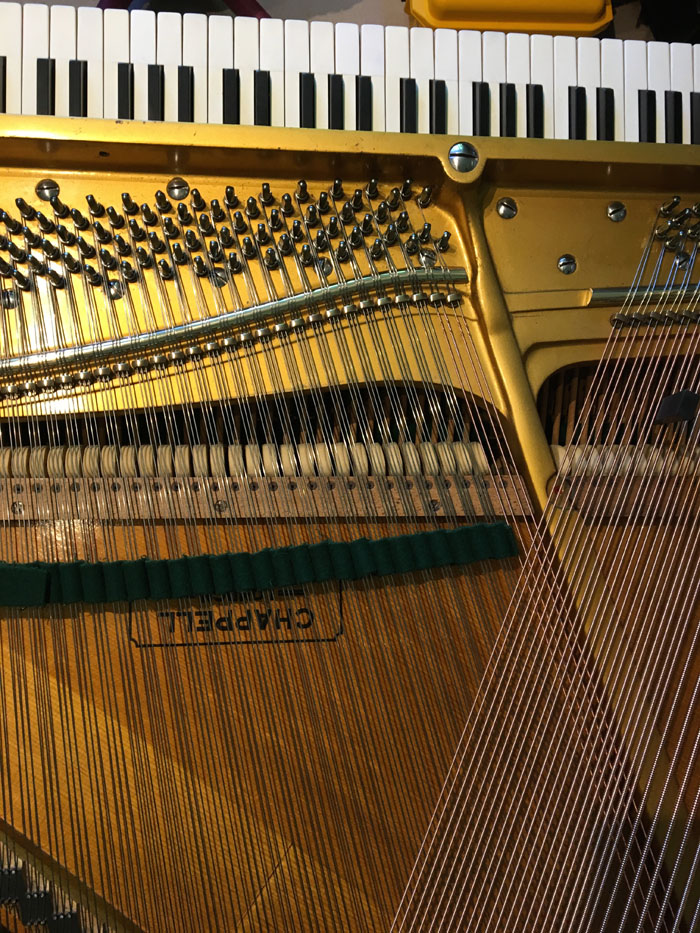
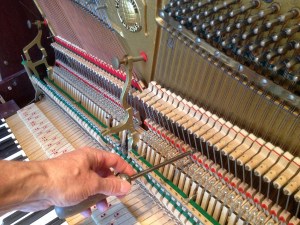
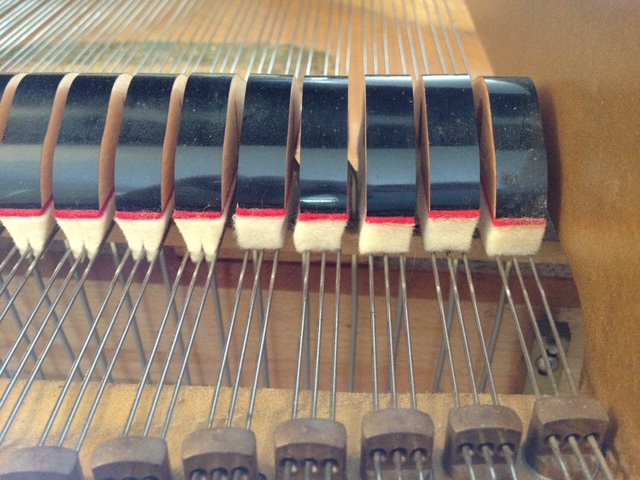
Of course, this doesn’t always happen. You can see below,
the 4th damper from the right is barely covering the R string
in its unison (and that string rings on just enough
to jump out at the ear):
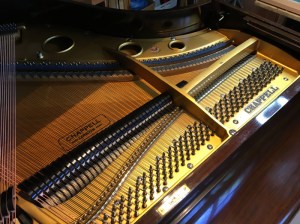
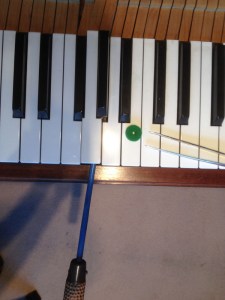
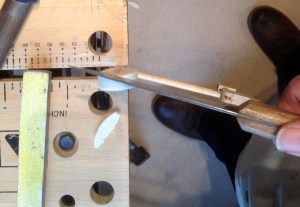
So, out this one comes, and is placed in the cranking board
(one I made in the Steinway factory!)
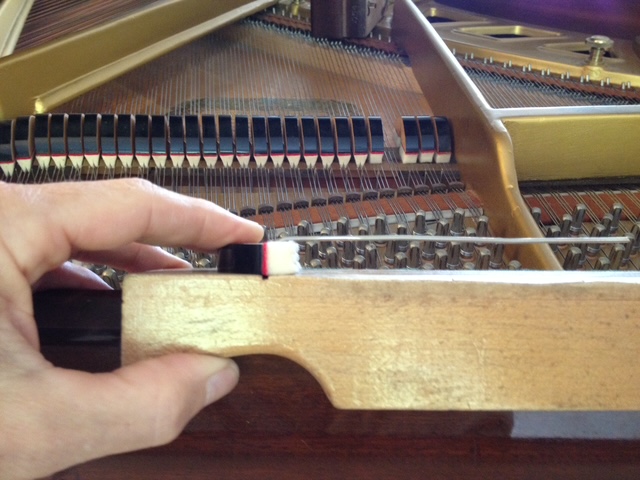
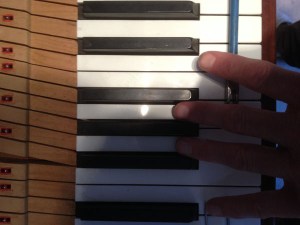
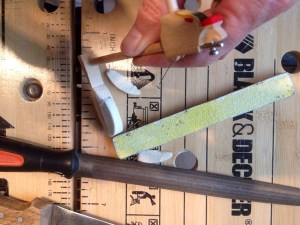
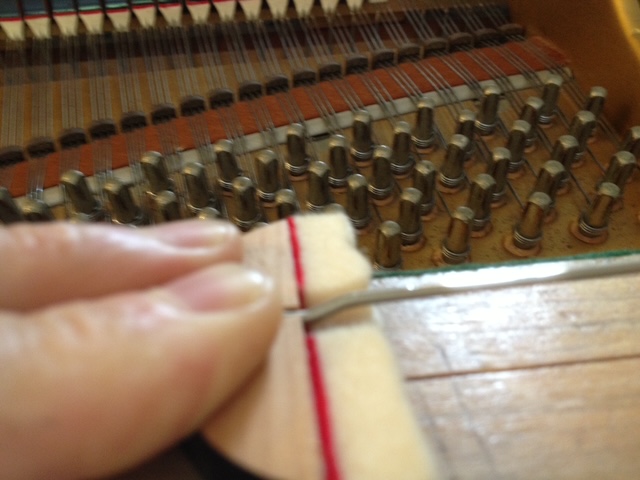
The wire is cranked away from its body (at the insertion point)

Then cranked parallel, about 4-5mm into the wire:
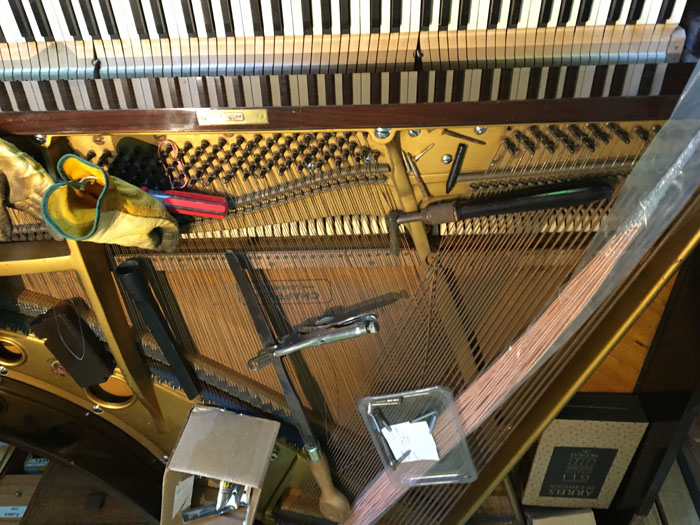
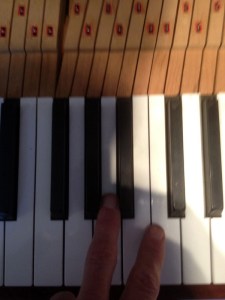
Then re-inserted and checked. You can see that it now
sits centrally over its unison..
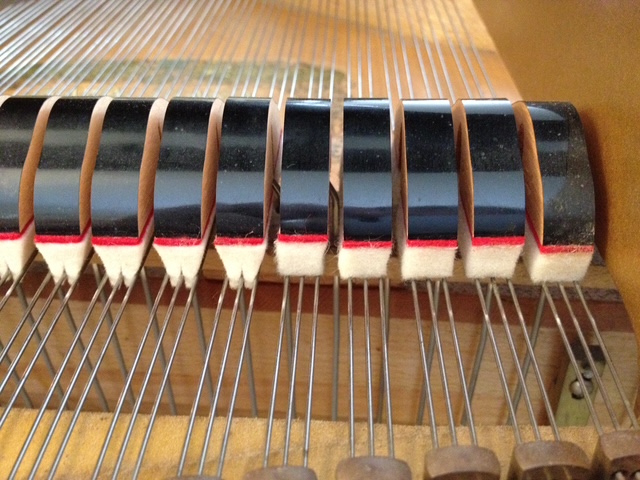
…and it damps better, too, of course!